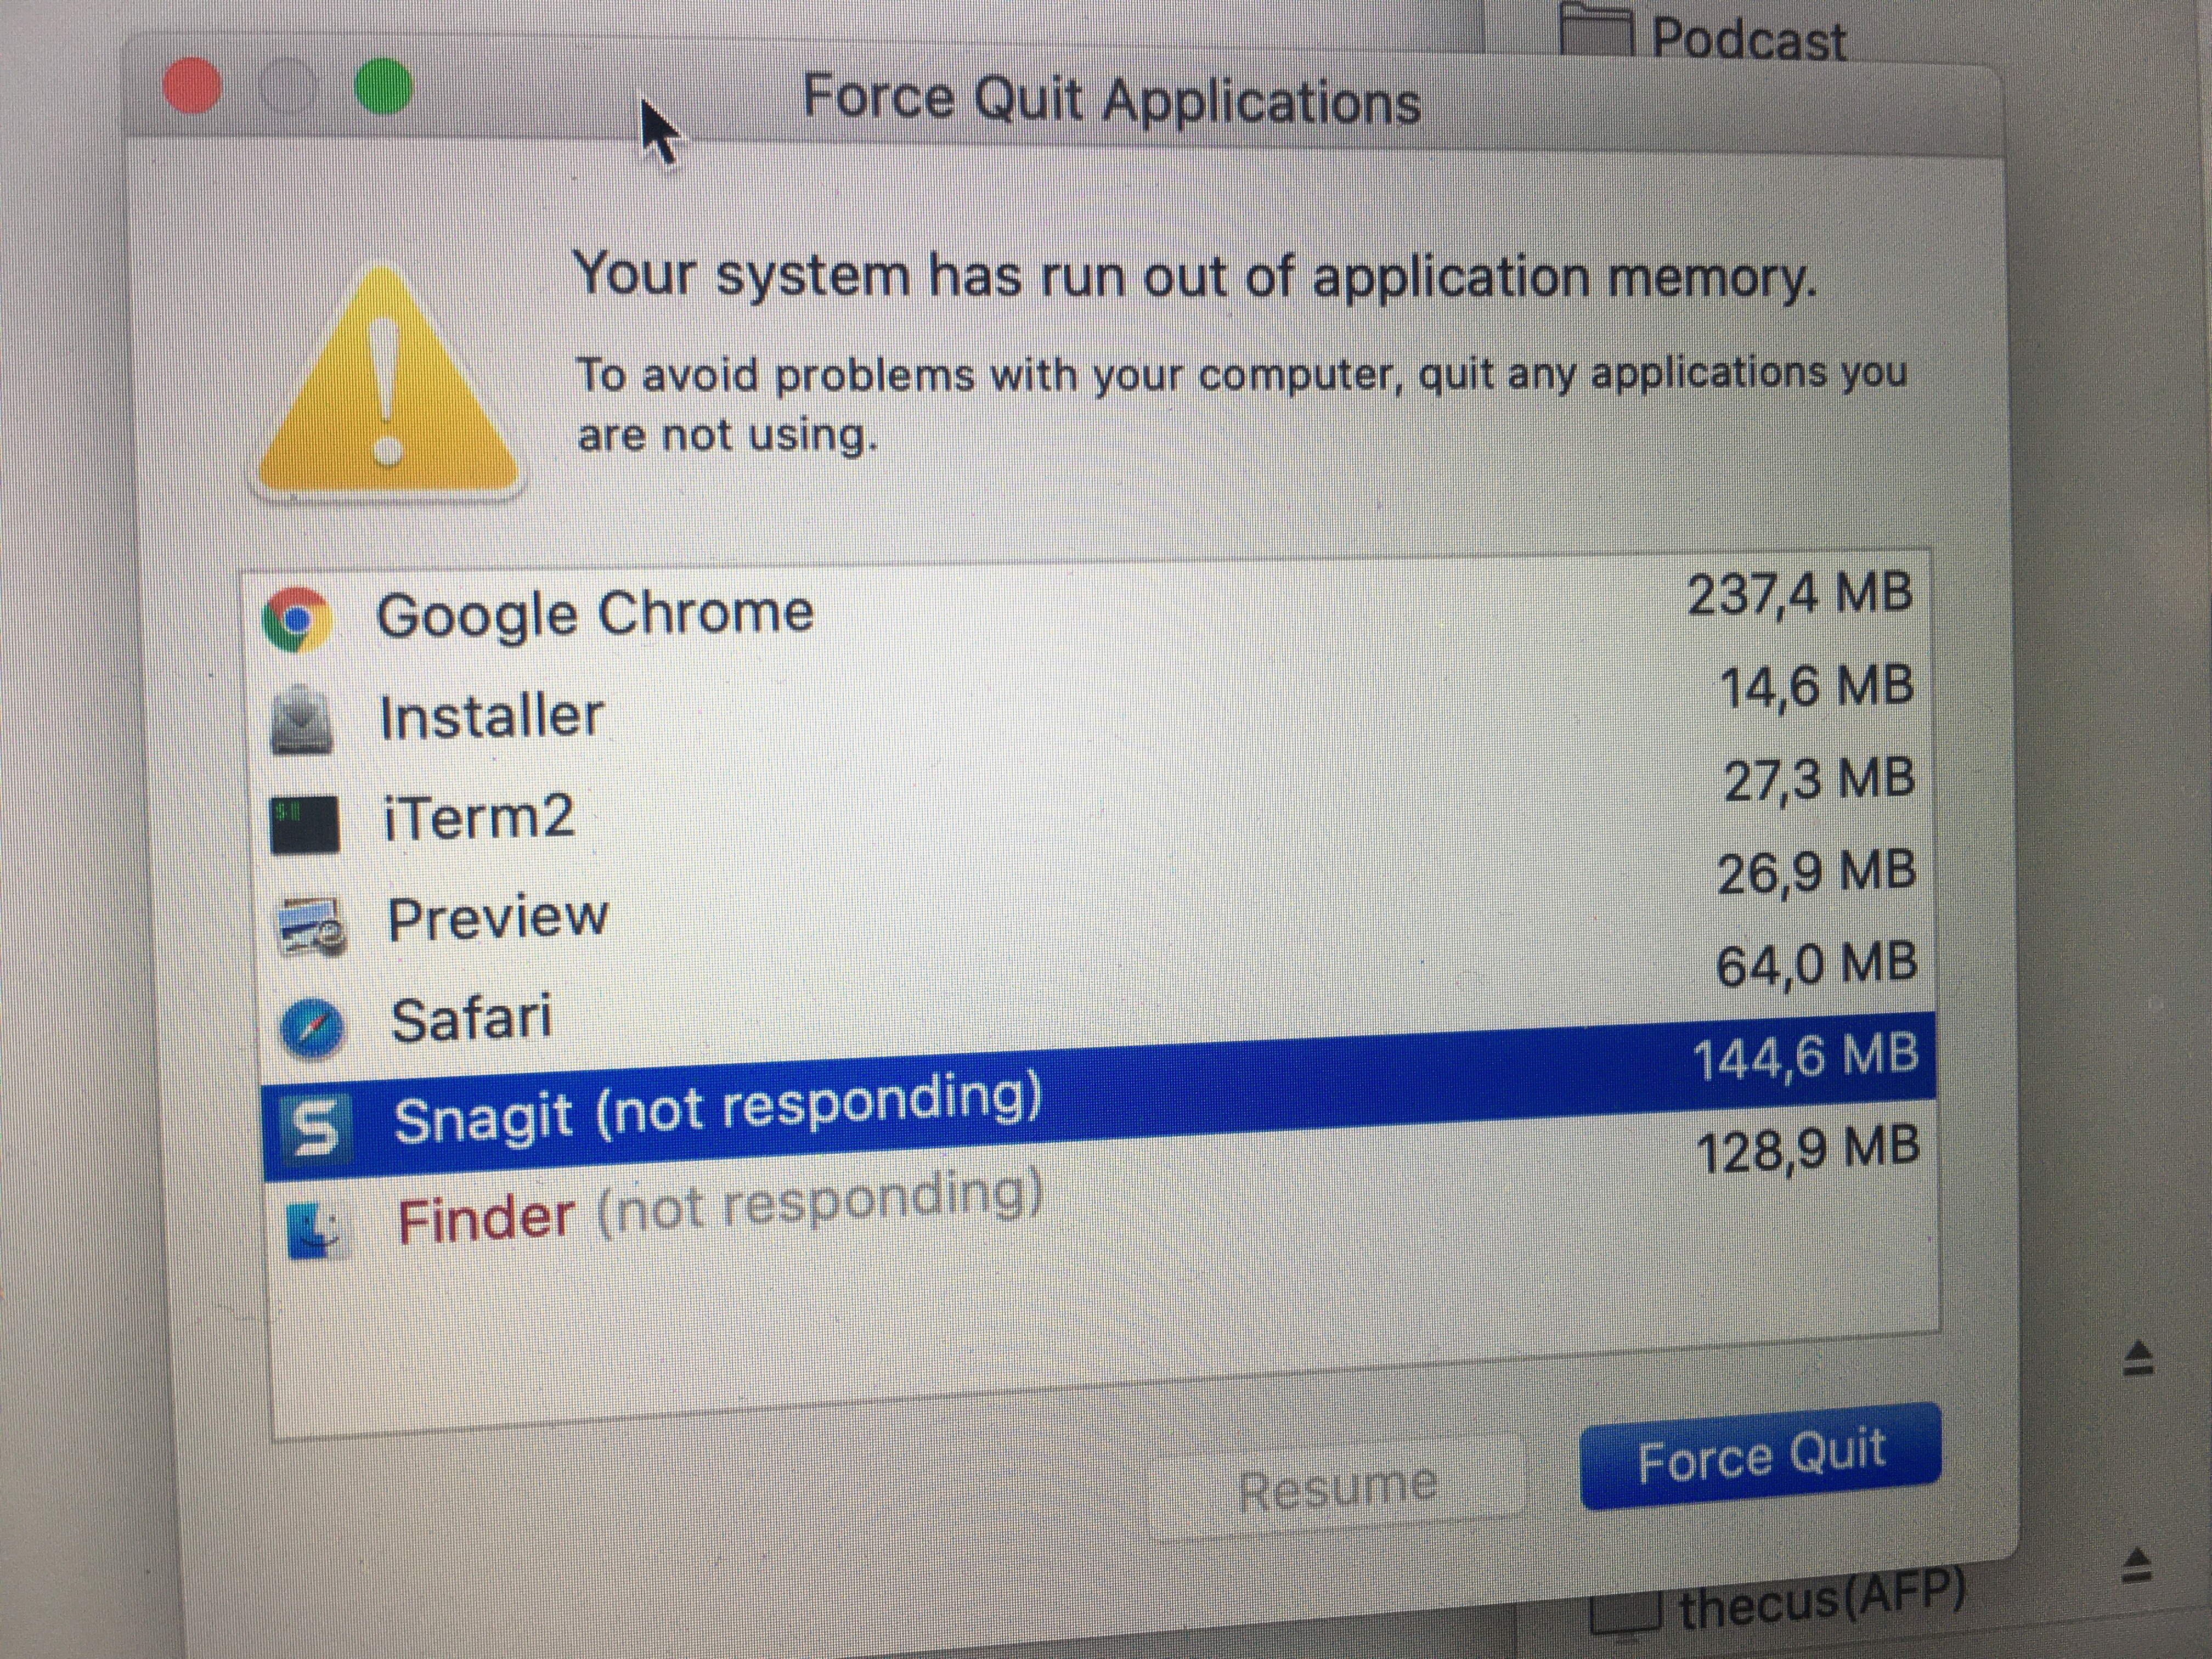
Your system has run out of application memory

I am using Apple MacBooks and macOS since 2010y I have been pleased all almost all the time.

However, I have never encountered something like “Your system has run out of application memory”, I think. Until I upgraded to macOS Catalina 10.15.1

I run a machine with 8GB of RAM. I wonder where the OS consumes 7.5 GB of RAM though.

Something worth a “screenshot” to remember…

tiny Reader RSS

I recently started using Tiny Tiny RSS as feed reader. I was looking for some reader I am able to host by myself. To achieve this, I’ve set up a dockerized version of tt-rss to be hosted on my server (more on this topic later).

While I am overall pleased by the overall experience with tt-rss, I was looking for a complementary iPhone app. I found (and can highly recommend) tiny Reader RSS by Pascal Pluchon.

The app comes with a clean UI, very easy to use. When opening the very first time you might run into the error API_DISABLED.

To fix this, log into tt-rss and navigate to you settings pane. Simply check Enable API to allow the app to communicate with your server.

Link: https://tt-rss.org
Pascal Pluchon’s site: https://www.pluchon.com/en/index.php

fzf – Command-line Fuzzy Finder on macOS X

If you master your Terminal it always looks like you are a superhero. Therefore, I always try to present a lot using terminal during my lecture, just to provide some smoke and mirrors.

However, I am far away from mastering Terminal truly. Therefore, it comes in handy that one of my students pointed me to reverse-i-search which is available on Terminal.

Wich this reverse lookup you can search through previous commands used in Terminal before. While this is an awesome feature you can activate by control-r on macOS, it does not allow you to search for similar commands used before. It always shows just exact matches of what you typed.

reverse-i-search on macOS

To search through similar typed commands, you can use fzf, a command-line fuzzy finder available at GitHub.

It’s an interactive Unix filter for command-line that can be used with any list; files, command history, processes, hostnames, bookmarks, git commits, etc.

Installing on macOS using Homebrew

For your convenience you can install fzf using Homebrew using the command

brew install fzf 

For me, the bash integration was not available after the installation. After some investigation (I might haven’t read the instruction well enough), I realized the installation script needs to be run:

/usr/local/opt/fzf/install

Eventually, the installation routines put [ -f ~/.fzf.bash ] && source ~/.fzf.bash into .bashrc. I run into this issue some time before. Reading through this article on Scripting OS X might give you an idea why it does not run.

When you open a terminal application, it does not ask for login. You will just get a command prompt. In other versions of Unix or Linux, this will not run the .bash_profile but a different file .bashrc. The underlying idea is that the .bash_profile should be run only once when you login, and the .bashrc for every new interactive shell.

However, Terminal.app on macOS, does not follow this convention. When Terminal.app opens a new window, it will run .bash_profile. Not, as users familiar with other Unix systems would expect.bashrc.

Moving the line mentioned above into .bash_profile and deleting .bashrc eventually solved the issue. After restarting Terminal the key bindings CTRL-R and CTRL-T have been available as expected.

fzf command-line fuzzy search

With this little trick the installations of fzf works quite well on macOS X Mojave.

tl;dr

Use reverse-i-search by pressing control-r on macOS to search previous commands typed in Terminal. In addition, you can use fzf, a command-line fuzzy finder to find similar commands and all other kinds of stuff.

To install run

  • brew install fzf
  • /usr/local/opt/fzf/install
  • copy [ -f ~/.fzf.bash ] && source ~/.fzf.bash from .bashrc into ~/.bash_profile (and remove .bashrc if not needed) or source .basrc from .bash_profile

Link: https://github.com/junegunn/fzf

Enable Keychain for SSH Connections after macOS Sierra

If you are connecting a lot from via SSH to remote servers, entering passphrases over and over might be a pain. As long as your hardware is secured, you might consider enabling the macOS keychain also for your SSH connections.

Go to ~/.ssh and open or create the config file. Now just enter the following entry to the file.

Host *
    UseKeychain yes

In the case you want to enable the keychain only for a certain server, simply replace * with your hostname such as foo.com.

Prior to macOS Sierra, macOS offered a dialog to enter the passphrase where you were able to select the passphrase to be remembered. For some reason, this dialog was removed. On the other hand, the keychain option has been introduced with macOS 10.12.2.

I do not want to see this web content on Yosemite

For a couple of weeks I now this really annoying message during the start up  of my Yosemite installation.

To view this web content, you need to install the Java Runtime Environment.

If I do follow the instructions of the pop up, I usually land on the Java site.
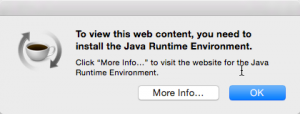
To view this web content, you need to install the Java Runtime Environment.As I develop on a regular base, I have the latest version of Java already installed (right no it should be version 8u25). Therefore, nothing to do.

I case you thought of installing Apple’s Java version for Mac. That’s  IMHO not the way to solve the issue. You might cure the symptoms, however, you will not fix the root cause for this issue.

To get rid of the message, you need the find the root cause. In my case it was the attempt to try Facebook’s video chat some weeks ago. That was the only one installation I performed since I receive this message. Even though, I disabled the add-on in Firefeox, the message kept showing at start up.

To get finally rid of the message head straight to the terminal and enter

launchctl list

In case you wonder that launchctl does, check the manpage which says

launchctl interfaces with launchd to load, unload daemons/agents and generally control launchd. launchctl supports taking subcommands on the command line, interactively or even redirected from standard input. These commands can be stored in $HOME/.launchd.conf or /etc/launchd.conf to be read at the time launchd starts.

Anyway, you shot not get a list of off all jobs loaded into launchd. There ckeck if you can find com.facebook.videochat.{username}.updater in this list. Wondering what this is? It’s some kind of Facebook-collects-your-data thing. Honestly, I don’t want to know much more about what it does, I just want to get rid of it.
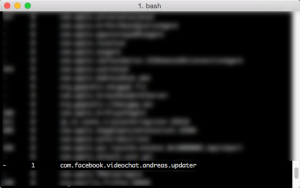
com.facebook.videochat updater

Check out

ls ~/Library/LaunchAgents/ | grep facebook

You should get something like com.facebook.videochat.{username}.plist.
Now run

launchctl unload ~/Library/LaunchAgents/com.facebook.videochat.{username}.plist

followed by

launchctl remove ~/Library/LaunchAgents/com.facebook.videochat.{username}.plist

You might want to run the following command instead

launchctl remove com.facebook.videochat.{username}.updater

You now can delete the property list file

rm ~/Library/LaunchAgents/com.facebook.videochat.{username}.plist

Now check for the FacebookUpdate application  via

ls ~/Library/Internet\ Plug-Ins/ | grep Facebook

Again, you should fine something like FacebookVideoCalling.bundle. Send it to /dev/null via

rm ~/Library/Internet\ Plug-Ins/FacebookVideoCalling.bundle

Now there still something to get rid of by calling

rm -R ~/Library/Application\ Support/Facebook/

Et voiá, your are done. The cause for the message should be gone by now.

To get rid of the JAR file itself use Spotlight to looking for FacebookVideoCalling. You should find something like FacebookVideoCalling_v1.6.jar. Use Finder then to get rid of it.
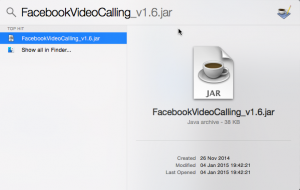
Finding FacebookVideoCalling_v1.6.jar That is, by the way, the only thing Facebook suggest to uninstall the videochat. Not only, the sort of infect you with the above updater, they also do not provide useful information for uninstalling the stuff.

The fact, Facebook’s add-on installed this nasty updater is quite annoying. Adding a job to the launchd for an Firefox add-on is quite questionable. Even more annoying that this one slipped through the cracks.
The Right Moment to start over with Visual Studio and .NET

Yesterday, Somasegar, corporate vice president of the Developer Division at Microsoft announced Microsoft is going to open source the .NET platform. Since I left Microsoft in 2011, this is one of the moments I am most stunned. There is a fully featured community edition of Visual Studio, Android emulator, .NET open sourced under the MIT License, support for Linux and Mac OS X. Further background information can be found on my former colleague Immo’s post over here.

I went from Windows to Mac once I left, dug into Python, Java, a lot of Apache projects and somewhat C++ and JavaScript, developing for the new Jolla and Sailfish OS and contributing to the IoT project  OpenHAB. Anyway, I never really was that overwhelmed by the dev ecosystem as I was with Microsoft.

It does not look like the Microsoft I left at all, however, with these major changes, I will be definitely one of the first nailing .NET on my Mac OS X.  I am looking forward for this. For today, I will install the new Visual Studio Community 2013 on my virtual Windows, though.

Check and Fix the Shellshock Exploit on Mac OS X

Since I switched to Mac in 2011, I do not keep that much track of vulnerabilities as I did running Windows as my main system. However, the recently announces Shellshock exploit got my attention. As Apple has no patch in place by today, I went for a manual path of the bash shell. Only precondition is Apple’s Xcode being installed on your system.

First, checking whether your  system is vulnerable, you simply need the following bash script being run:

env x='() { :;}; echo not' bash -c 'echo safe'

In my case, unfortunately, I got a

not
safe

on my shell, running Mac OS X 10.9.4. Checking the version is simple done as following:

bash --version
GNU bash, version 3.2.51(1)-release (x86_64-apple-darwin13)
Copyright (C) 2007 Free Software Foundation, Inc.

In case you passed the check, you should run a second one, as since Thursday, there is a second attack vector knwon

env X='(){(a)=>\' bash -c "echo date"; cat echo; rm -f echo

The good news, not vulnerability from this vector.

date
cat: echo: No such file or directory

In case one would get the current date and time, there would be vulnerability, too.

As there is no patch from Apple right now, there is an possibility to build an update manually from the GNU repositories.

mkdir bash-fix
cd bash-fix
curl https://opensource.apple.com/tarballs/bash/bash-92.tar.gz | tar zxf -
cd bash-92/bash-3.2
curl https://ftp.gnu.org/pub/gnu/bash/bash-3.2-patches/bash32-052 | patch -p0
cd ..
sudo xcodebuild

In case you are vulnerable to the second vector, there is a another path to be applied:

mv build/bash.build/Release/bash.build/DerivedSources/y.tab.* bash-3.2/
cd bash-3.2
curl https://ftp.gnu.org/pub/gnu/bash/bash-3.2-patches/bash32-053 | patch -p0
cd ..
sudo xcodebuild

By running

bash-fix/bash-92/build/release/bash --version 
bash-fix/bash-92/build/release/sh --version

you should be able to verify the version of the fix.

GNU bash, version 3.2.52(1)-release (x86_64-apple-darwin13)
Copyright (C) 2007 Free Software Foundation, Inc.

Before replacing the old version, I backup the original bits.

sudo cp /bin/bash /bin/bash.3.2.51.bak
sudo cp /bin/sh /bin/sh.3.2.51.bak

Now you can replace the original ones by

sudo cp bash-fix/bash-92/build/Release/bash /bin
sudo cp bash-fix/bash-92/build/Release/sh /bin

Once this is done, you can check for the exploit again

env x='() { :;}; echo not' bash -c 'echo safe'
bash: warning: x: ignoring function definition attempt
bash: error importing function definition for `x'
safe

Once verified, you can get rid of the bash-fix folder and your system should be safe from this exploit.


Wiping all your iPhone’s Photos

Since iOS 7, the possibility to wipe your entire camera roll in iPhone has gone for good. In case you have  a lot of photos on your devices, deleting all of them might be quite an elaborate job to do.

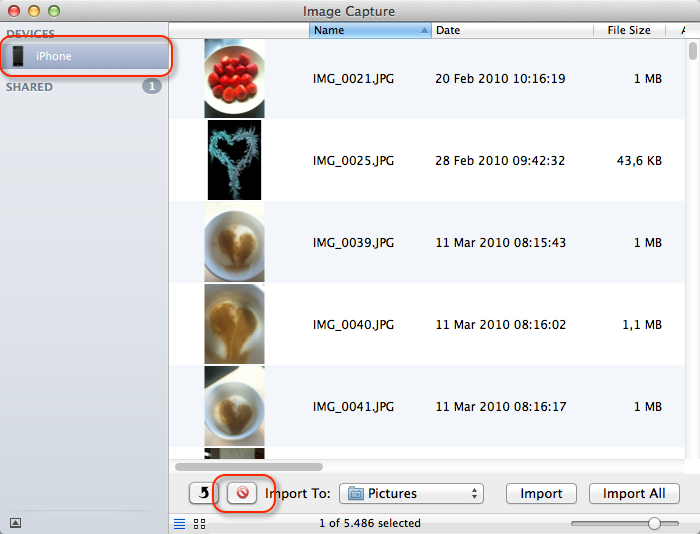
To make it quick, there is still a possibility, if you have your Mac at hand. Connect your iPhone and start Image Capture which comes with your Mac OS X.

Image CaptureMake sure to select your iPhone on the right hand list, select all (⌘+a) photos from your device and press the delete bottom located at the bottom of Image Capture.

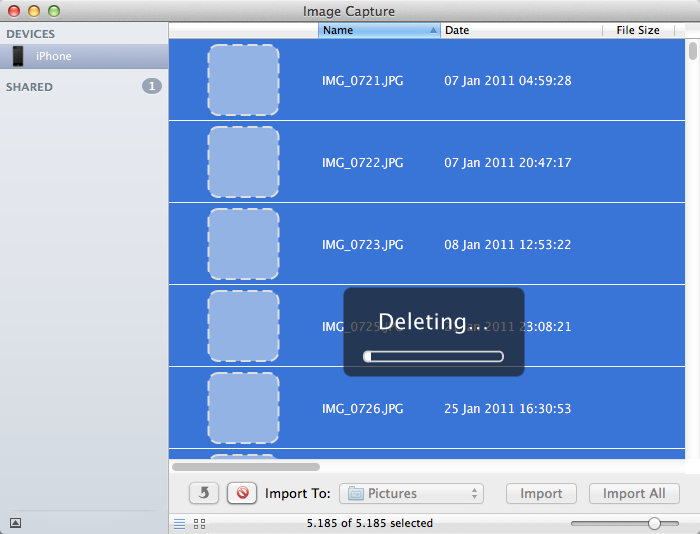
Deleting...Depending on the number of photos on your device this might take some time.

Make sure to import your photos beforehand either using Image Capture as well or some synchronization such as Dropbox’s Image Upload.